Technique Tuesday: Would You Like Sleeves with That?
On Technique Tuesdays, I’ll be tackling technique questions in knitting (mostly about sweaters), questions about how to execute a particular thing rather than “how to think about executing a thing” (that’s for Thursdays).
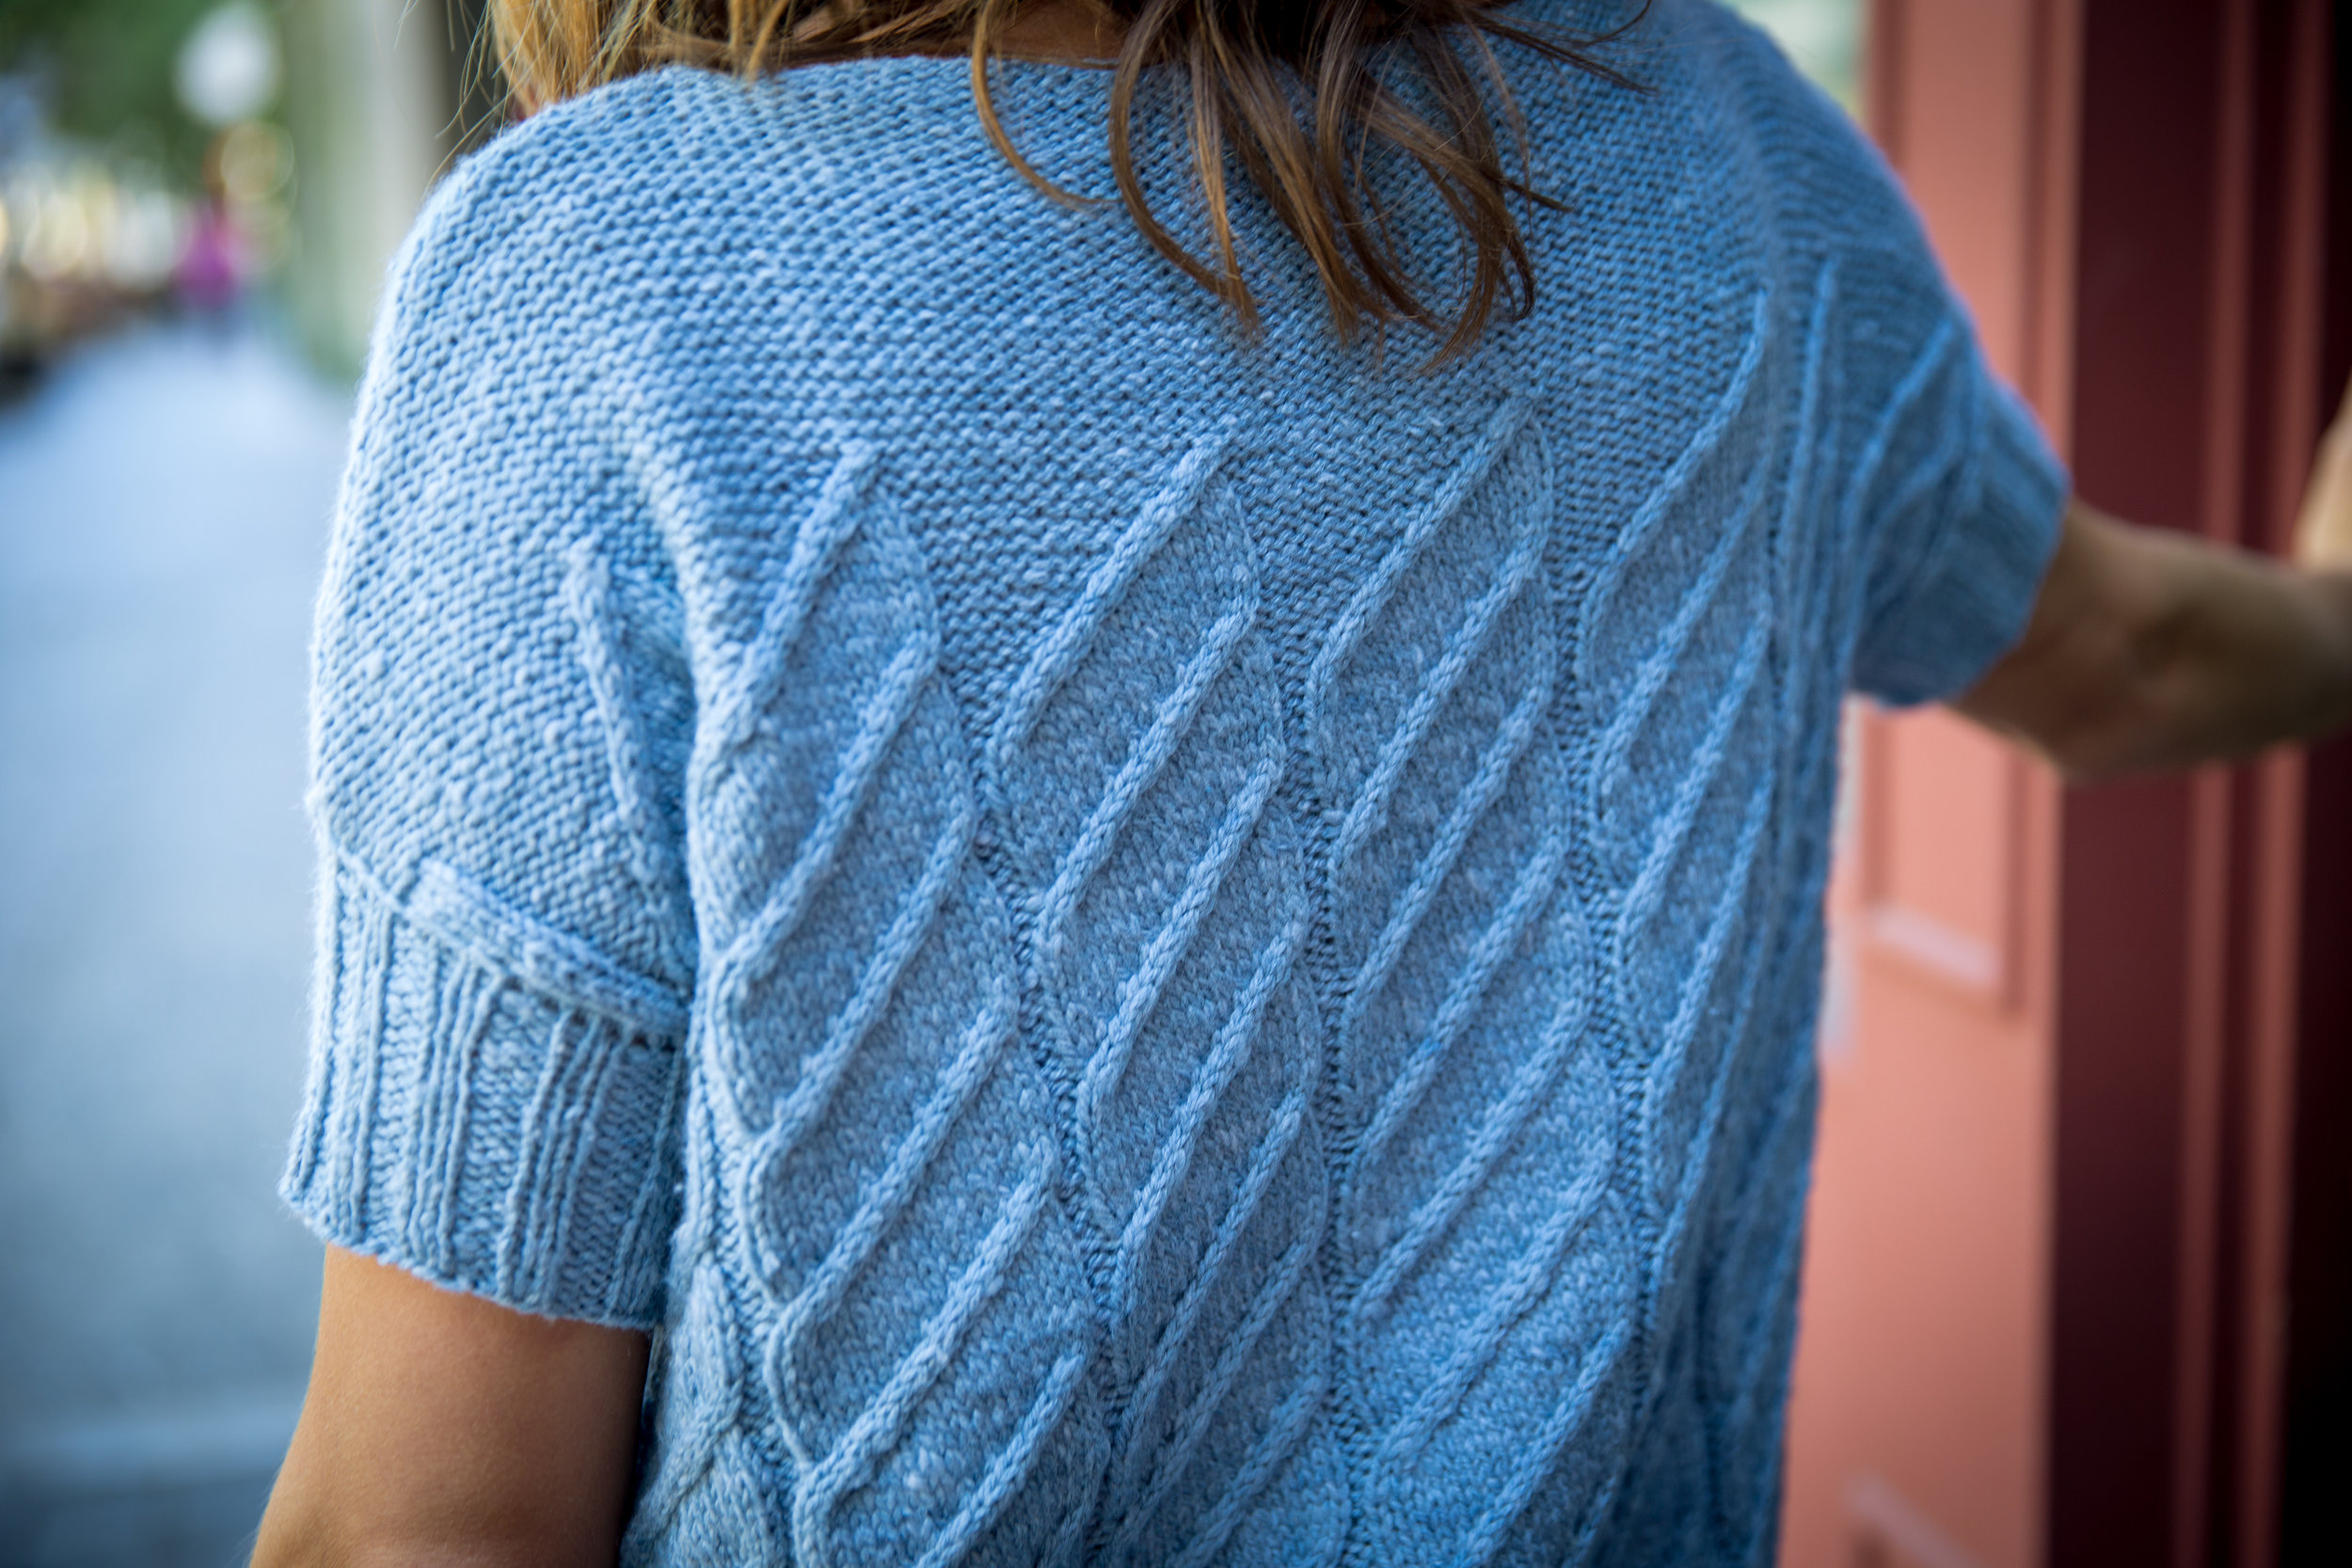
Larkspur, designed in Magpie Fibers’ Solstice, has a short, picked-up sleeve, knit in a 2x2 rib, but could easily be modified for a full-length or three-quarter-length sleeve.
Before I dipped my toes into the world of knitwear design, I was something of a serial modifier. I swapped stitch patterns, adjusted waist shaping, and changed hemlines. Some of these efforts went really well, and some of them left something to be desired. Bloopers and all, though, I totally believe that doing a little informed experimentation can and should be a part of your knitting life, and that it doesn’t have to be a terrifying one. So, today, I thought we’d talk a little about one of the most frequent questions I get about pattern modification: can I change [XYZ] about the sleeves for that pattern? How should I do it? The answers I’ve provided here are general and not-pattern-specific, so you’ll need to do some looking about how it applies to your particular situation, but here are some basic guidelines about adding, subtracting, and modifying sleeves. These are in no super particular order, but generally go from simplest to most complicated.
I’m having a thing about vests/tank-tops/general support for the Right to Bare Arms. Can I skip the sleeves on this one? If it’s a set-in-sleeve sweater, or any kind of modified drop shoulder, and it’s knit from the bottom up, generally yes and without particular difficulty. If the sweater is designed to be worked in pieces and seamed, however, mind your selvedges—most sweaters that are designed to have a seamed-in sleeve cap have a garter stitch selvedge (meaning you knit the first and last stitches of every row, and this stitch gets eaten up by the seam). You may or may not love this look on an exposed edge, so consider whether you want to change it to use a chain or wrapped-chain selvedge, an I-cord, or another kind of decorative edge. If the sweater is written from the top down (and was not written by Elizabeth Doherty), and uses a set-in-sleeve technique where the sleeves are designed to be knit concurrently with the body (I.e., the CocoKnits method, or several of the “contiguous” approaches to set-in-sleeves), you’re going to have a more complicated time. In that case, you’ll need to figure out what sts are cast on for the upper back, excluding the sleeves, work from there down to the underarms, pick up off the edges of the upper back to knit the fronts down to the underarm, and join. This isn’t impossible if it’s a fairly straightforward set-in-sleeve construction (typically one where the “sleeve cap” is shaped with increases between two markers), but it can get more complicated depending on the methodology.
I want longer sleeves on this short-sleeved thing. Can I keep going? Yes (regardless of armhole construction), but you may need to recalculate your rate of shaping. This requires a tiny bit of math, but it shouldn't be scary.
Assuming a top-down sleeve, proceed as follows: Measure the circumference of the part of your arm you want the sleeve to end at (elbow, three quarter, bracelet, full-length, whatever). Multiply that number by your stitch gauge, and round to the nearest multiple of 2 (this assumes you have a 1x1 ribbed edge. For 2x2, you’ll need a multiple of 4; for some other edges, any whole number will be fine). Measure the length of the sleeve you want, from the underarm, minus the length of ribbing/hem you want (I recommend doing this on a garment you like; it can be a hard measurement to get on your body). Multiply this number by your row gauge, rounding to the nearest multiple of two. Subtract the terminal number of stitches from the number of stitches at the bicep/upper arm, and divide this number by two (because typically you’ll work sleeve decreases in pairs). Divide the number of rows in your sleeve by the number of decreases (minus one). This will give you the number of rows/rounds between decreases. Work shaping as the pattern indicates, before working a final hem when you’ve got the right number of stitches and the right length.
For a bottom-up sleeve, you’ll need all the same math, but in the other direction. Once you’ve got the difference between the wrist measurement and the bicep measurement (and divided by two), this is the number of pairs of increases you’ll need to work. Work your first increase row as soon as you finish your hem, then divide the number of rows in your sleeve by the number of remaining increases. Work the increases every X rows until you reach the underarm, then proceed as planned.
Can I add sleeves to this sleeveless garment? Vests confuse me. This is the flip-side of the first question, and again, for drop-shoulder or set-in-sleeve garments, the answer is almost always yes. If it’s seamed, you can draft yourself a sleeve (this Knitty series on the topic is quite dated, but quite comprehensive on set-in-sleeve drafting). Regardless of how the body is constructed, you can also add a top-down sleeve, if that’s your preference. I like Elizabeth Doherty’s method for top-down set-in-sleeve construction, which is now pretty commonly used, but there are other short-row methods that also work well. If it’s a drop-shoulder, consider where the shoulder seam (the edges of the body) hit on your arm as you draft your sleeve, as well as whether the sweater contains any shoulder shaping. If there’s shaping worked on the body, you’re probably okay to just pick up and knit down without working any short rows, but if there’s no shoulder shaping and/or the garment is designed with quite minimal ease, you may want to work a few short rows after you pick up for your sleeve, so that you can curve the sleeve nicely down your arm. Pro tip: I hate a loose pickup row—it looks unsightly and it ruins the structural integrity of your sweater. I like to use a needle 1-2 sizes smaller than the needle I’ll be working with on the sleeve when I pick up my stitches, to provide a secure edge.
I need more bicep ease/less bicep ease/a shorter armhole/a longer armhole/something more complicated: How much you can customize your sleeves is going to depend on the kind of sweater construction you use. Because of the way they’re constructed (with increases spaced at specific intervals), raglans will always have a relationship between sleeve circumference, bust circumference, and armhole depth that may be more or less complicated depending on things like stitch pattern and row gauge. To end up with a different ratio of sleeve to bust, you may need to do quite a bit of unwinding. Yoked sweaters are usually slightly simpler to modify in this respect, though, again, it depends on how much stitch patterning there is and what kind of yoke you’re talking about. A set-in-sleeve is going to be significantly easier to modify, though it will still take some math and some understanding of basic armhole geometry (I like this book of Sally Melville’s, as an initial reference, as well as Amy Herzog’s many writings on the flexibility of set-in-sleeve construction). If it’s a modern drop-shoulder, you’re probably in luck: these are the easiest to modify. Take a look at the instructions for how the sweater is seamed together, how deep the armholes are supposed to be, and leave a larger or smaller opening as applicable—then pick up stitches for the sleeves and work your way down, decreasing as calculated using the method above.
There are a million questions about how to modify sleeves, and I’ve answered just a few of them here. What other questions do you have? Leave a comment below or shoot me an e-mail, and I’ll do my best to get it answered.